How to choose souvenirs that won’t become clutter

how to choose souvenirs that won't become clutter

Photo by STIL on Unsplash

It’s that travel time of year! The time of year when we dream about hitting the open road with clear blue skies above. I may be in the minority but I love a road trip! Well, let’s be honest I love any kind of trip. But I do not love clutter!

So regardless of where you are headed this summer, you will likely bring back a souvenir of some sort. But then you get home and that bright Mexican plate that you just couldn’t part with in the market, just doesn’t quite look as good in your very traditional home.

So what souvenirs can be turned into decor pieces that don’t just clutter up your home?

When I’m traveling, I think about these things before I pick up something that’ll also take up my precious luggage space.

  1. Where will you use or place it in your home when you get back? A colourful ceramic bowl or jug may be perfect thing to use at your summer cottage instead of your home.
  2. Is it useful or at least tasty? I often pick up speciality food products that are unique to the locale, it’s great to enjoy and share with friends or family when you’re back home.
  3. Picking up Christmas tree ornaments are perfect for remembering your vacation but they won’t add to your daily clutter quota. Plus they are usually tiny and therefore easy to pack.
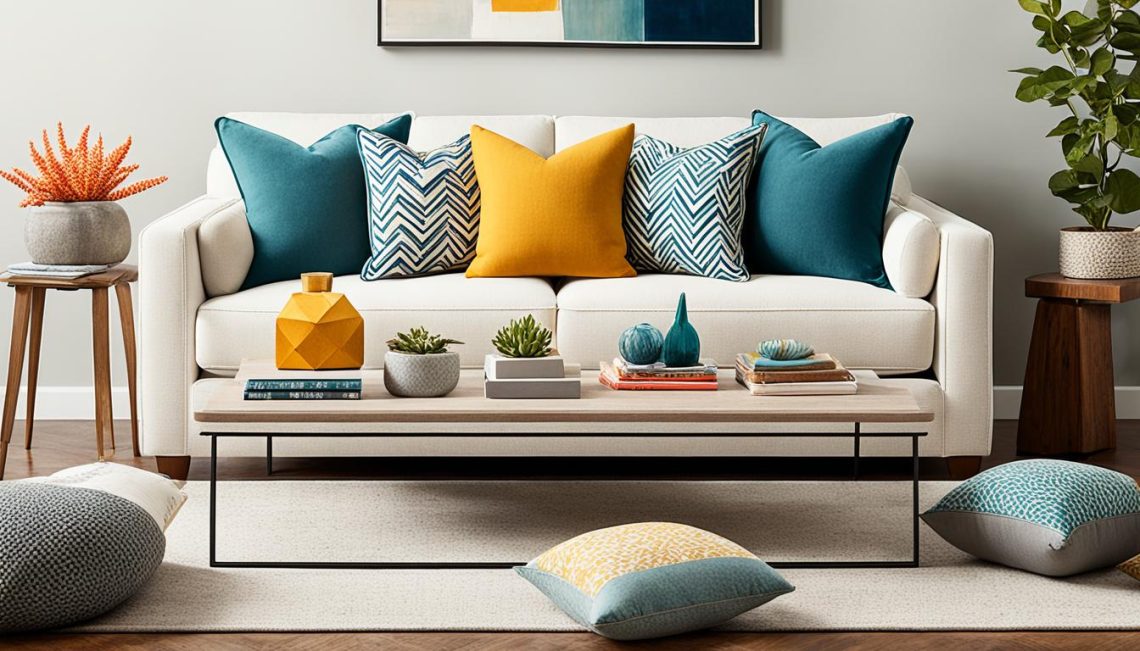
  4. Textiles are another favourite, a tea towel with a cute local saying or image or perhaps, an apron, both are useful. When I went to Paris, I picked up fabric at a flea market and once home, I had it made into cushion covers.
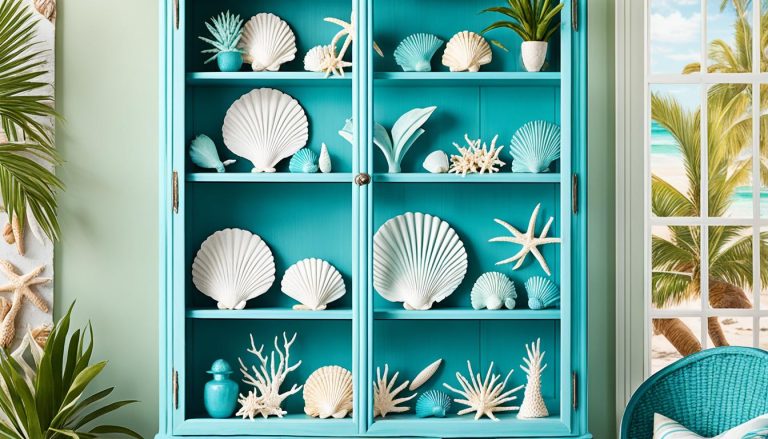
  5. Perhaps you can pick up some seashells, sea glass or special rocks from your vacation spot. Once you’ve ensured you can remove them, collect away. By placing them in shadow boxes or displaying them in a bowl you can enjoy them year around. Kids of course, love to get in on this type of collecting and it’s easy on the vacation budget.
  6. Do you take a million travel pics? I must confess I am guilty of this. But it’s great to pick one or two of your favourite and have them blown up and either mounted or framed for your walls. I’ve also made a personalized calendar with travel pics from the previous year. It’s a great way to remember the special moments.

So where are you heading this summer?

6 design ideas to reduce anxiety

Reduce anxiety with some design ideas for your home.

Photo by Jen P. on Unsplash

Feeling a little overwhelmed? How about some design ideas to reduce anxiety? These six design ideas can help reduce your anxiety by targeting some of the smaller details in your home. If you have ever struggled with anxiety you know how hard it can be to manage and to overcome. It has a way of sneaking into every part of our life and we need to chisel it out out of there, little by little.

While these tips won’t cure your anxiety they will help soothe you and your family. They may be just the thing you need to get some calmness back in your life.

  1. Target your sense of smell. This is the perfect time to use an oil diffuser in your main spaces, or perhaps you’d prefer a scented candle. Certain oils such as lavender can help you relax and decompress and peppermint is great for relieving headaches.
  2. Fresh flowers or plants. A touch of the outdoors, especially colourful ones will instantly give you a sense of peace. So don’t you regret that impulsive bouquet purchase at the grocery store’s checkout line, it may be just the medicine you need.
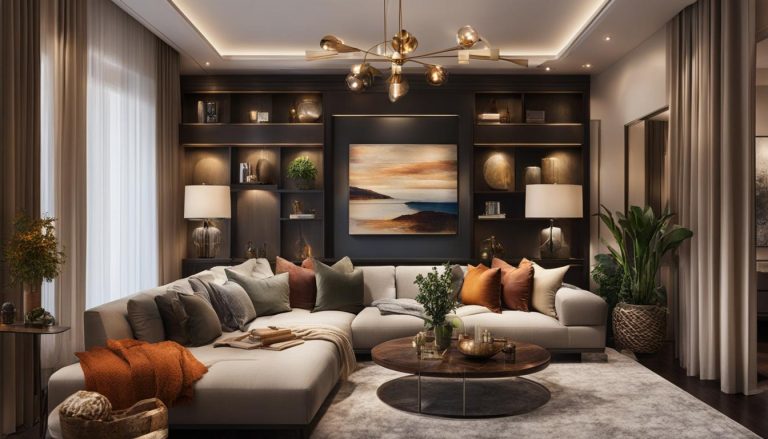
  3. Keep your rooms open and airy. Feeling like there is space in your home, can make you feel more relaxed and calm. Removing a few pieces to give the remaining furniture a little more breathing room can achieve this and may give you more breathing space as well.
  4. Open those windows and drapes. Perhaps those heavy drapes have had their time. Light, airy drapes that will let the natural light in can go a long way to lighten your mood and bring the outdoors in.
  5. Remove clutter. I know this is a huge anxiety trigger for me, and my family knows this all too well. I actually feel a little claustrophobic when I’m in a cluttered space. So no more excuses, it’s time to remove the visual clutter and watch how much lighter and freer you feel.
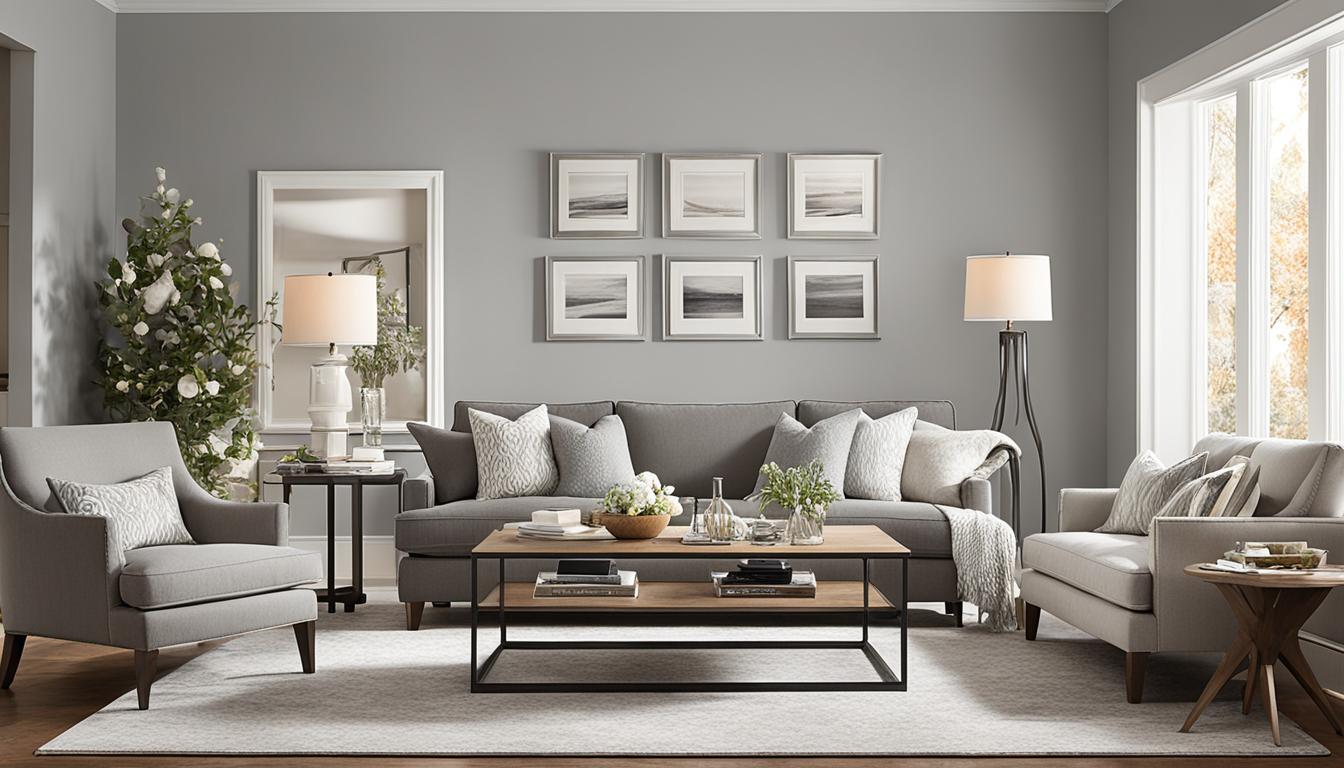
  6. Use soothing paint colours. There is actually a science to colour therapy and it has been well proven over and over. Soft pinks, greens and blues are know to create feelings of wellbeing and calm, while colours like bright red, chartreuse and neon yellow can cause overstimulation and restlessness. It just may be time to get out the paint deck and contemplate a new colour scheme.

With today’s highly stressed and fast paced lifestyles a little anxiety reduction is always a good thing.  Implementing these small changes may help you create a more balanced and happy life and perhaps reduce anxiety as well!


Exciting news


modern cottage kitchen

Photo credit: Melissa Kew Photography

This kitchen will soon be featured along with the rest of my log home cottage in a local magazine. I’m so excited. Once it’s published and available I’ll let you all know.

And did you know that it was an award winner? Click here or on the picture below to see the DDA video showcasing it.

2017 Silver award Kitchens DDA

Lisa

Kitchen Planning Standards – Class 101

Photo credit – Melissa Kew Photography

Ever wonder what standards there are for either a new kitchen or a kitchen renovation?

Well, I’m here to help!

These industry standards will help  you work out your plan properly so you don’t run into any unexpected surprises.

APPLIANCES

Standard oven width – 30 inches

Standard dishwasher width – 24 inches

Standard fridge width – 36 inches. Keep in mind that you should choose and order your appliances before building a new or renovating a kitchen, the cabinetry and countertops will be built around them for the most custom look.

CABINETRY

Standard upper cabinet depth – 12 inches

Standard base cabinet depth – 24.5 inches

Standard counter height – 36 inches

Standard counter depth – 25.50 inches

Standard distance between bottom of cabinet and your countertops – 18 inches**.  If you are installing under cabinet lighting, a must in my books, then you’ll have to give some consideration to the extra space needed for them and valances.  Also, if there is a special appliance(s) you would like to store on your countertop, be sure that the 18 inches will accommodate it.

**This height will change if you are putting in a gas cooktop. Please check with your contractor or designer with regards to your building codes and safety requirements for your particular kitchen design.

ISLANDS

Minimum distance between two working areas – 39 inches.  48 inches would be ideal but you can get by on the minimum of 39 inches.

Minimum island overhang – 12 inches with no brackets for support (depending on the counter material) or 15-18 inches with supports.

Minimum counter space on either side of the stove – 18 inches.  A stove should never be placed right beside a wall, as this could be a fire hazard.

STOOLS AND LIGHTING

Bar stool height – 30 inches

Counter stool height – 24 inches

Height for hanging light fixture over a table or island – Standard is 30-36″ from the top of the dining table, however this can and should be adjusted for individuals using the space and for sight lines.  I usually prefer to hang the light lower if it is a statement piece and if the table is large enough to accommodate it.  For an island fixture – standard is 60-66″ from the floor, but again this can and should be adjusted for sight lines and for tall individuals.

HAPPY KITCHEN PLANNING!

Lisa


How to properly light your kitchen

So how do you properly light a kitchen? I was asked this question recently in my Facebook group – Empty Nesters – Reclaim your Space (click to join). Here’s how to light your kitchen so you aren’t squinting when you are trying to create your gourmet meal.

There are three types of lighting:

  1. Ambient or  General Lighting
  2. Task Lighting
  3. Accent or decorative lighting

You really want to layer all three types of lighting so that you don’t get a spotlight effect in your room. And I always recommend dimmers for most lighting, even in a kitchen, especially if you will be entertaining.

For a kitchen, an example of all three types of lighting would be:

  1. Ambient or General lighting – This is typically potlights (and yes, put them on a dimmer), one or more large overhead lights or track lighting. This is the overall light for the room. If you are using potlights your designer, electrician and/or contractor will have recommendations for you on their spacing. This is dependant on the size of the room, placement of fixtures, work areas and the size and light beam of the potlight you are installing.
  2. Task lighting – this is lighting that directly lights your work area, think of a reading lamp. This would be your under cabinet lighting in a kitchen, or pendant lights over a sink, island or peninsula.
  3. Accent or decorative lighting – this can be wall sconces, glass cabinets with interior lights or a decorative lamp placed on the island.

Here’s a visual showing all three types of lighting.

how to properly light a kitchen

So in this example, the ambient or general lighting is the potlights. The task lighting is the under cabinet lighting, the pendant lights over the peninsula and the fan light over the stove. The accent lighting is the in cabinet lighting.

To see more of this kitchen renovation click here.

Proper lighting in a kitchen is essential and should be one of the first steps when planning your renovation.