DIY Beach Glass Vases – Create Your Own Ocean-Inspired Oasis
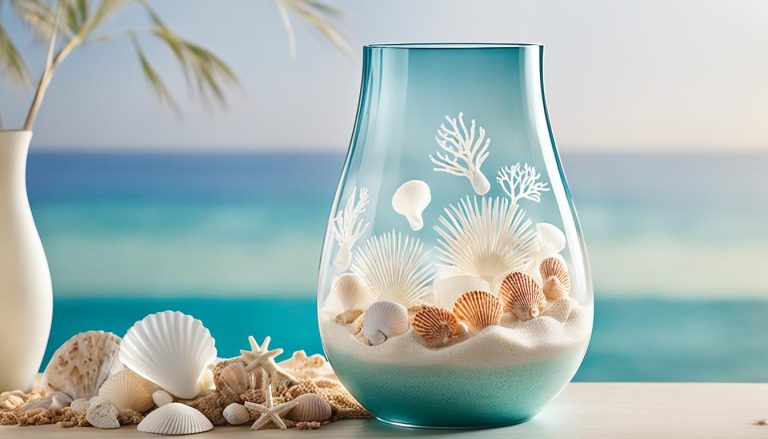
Welcome to our guide on creating stunning DIY Beach Glass Vases that will bring a touch of the ocean into your home. These handmade vases are the perfect addition to any coastal decor, adding a charming and serene atmosphere reminiscent…