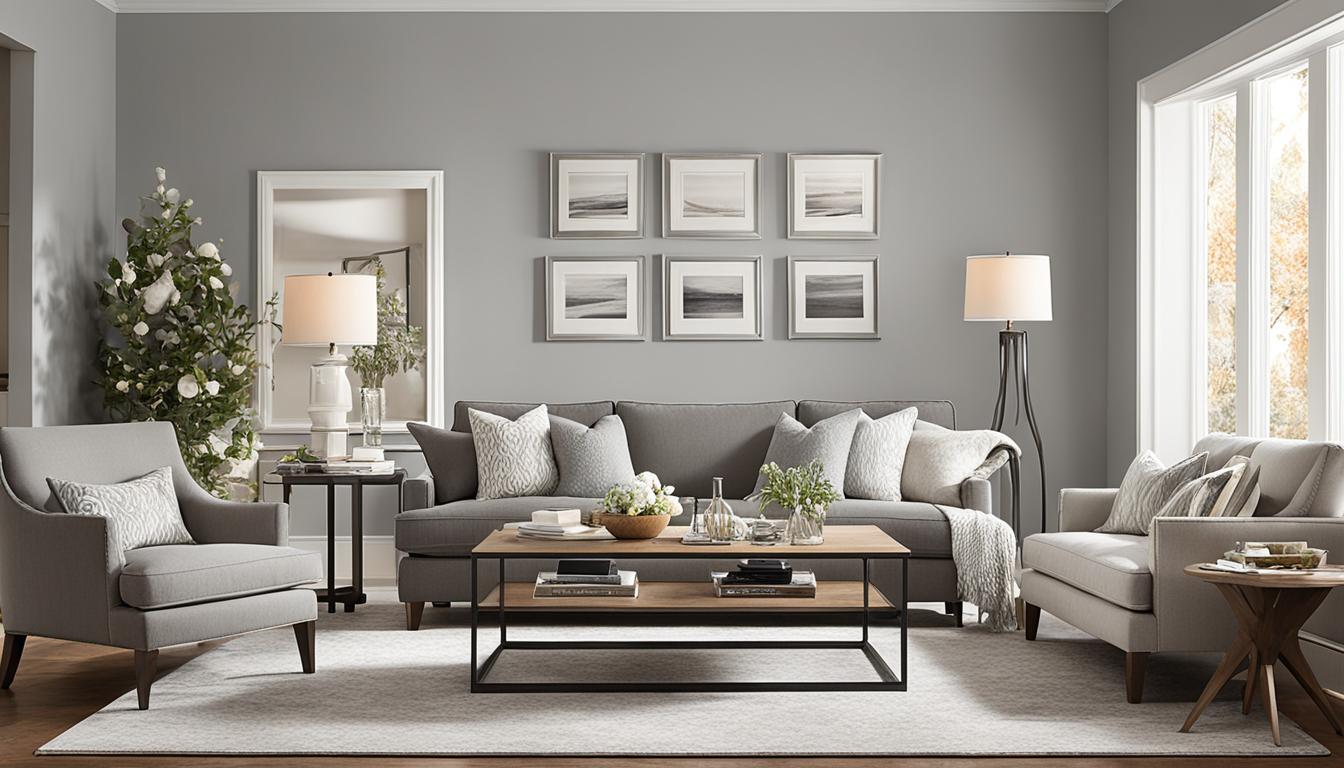
Updating a 10 year old home

After 10 years in this home, we  or at least, I am ready for some changes. Goodbye, warm yellows, gold and greens..so over you.  So how do you update a 10 year old home? Well, you pick some new fresh paint colours, install some new lighting and perhaps change the kitchen’s backsplash.

So for the last few weeks, I’ve been walking around with paint colours, yes it does take that long to make a decision in my own home, and I’ve finally decided upon these.

grandmaschinacsp-365

I’m going with Grandma’s China (kind of an unfortunately name, IMO) above in the hallways, loft, living room and funnily enough in my master bath. It’s a lovely warm taupey/gray that works well with my warm fixtures, but still reads grey enough to give me that fresher tone I was seeking.

picketfencecsp-370

Picket fence will greet my guests in the entrance and front den.  It is also being used in my laundry room/mud room and is the main colour for my basement. It’s just a touch darker than Grandma’s China for those rooms that need a little more mood.

subwaytilecsp-585

I’m using this grey/blue in the kitchen to bring down the red in my wood cabinets and it will work beautifully with the Ceragres Liverpool subway tiles in Portland, (the colour below) which I am having installed, hopefully before Christmas.  This grey/blue paint colour will also pull in the blue of my blue velvet chairs in the adjoining family room.

c_liverpool_portland_3x10

I am going with a significantly darker blue in the dining room. I had wanted to do Hale Navy but it was way, way too dark for my room. It was reading as almost a black and just wasn’t doing it for me.  This dark grey/blue is much softer and works better in my already moody (read..dark) dining room.

andessummitcsp-600

Fossil will be a lovely pale cream in my very bright family room and sun room.  It has a hint of violet in it which will work well with my current sofa and my blue armchairs.

fossilaf-65

I painted my office in Wish recently and I am in love with this soft dove grey colour. It works well with my darker desk and storage units and even blends with the beigey/pink carpeting.  It has been added to my favourites list.

wishaf-680

My bedroom is going with a darker and more grey blue than what I currently have. This was a tricky one as I didn’t want to change the feature wall’s wallpaper but I wanted the blue to have more depth than the pale blue I have in there now. This one was the winner. And it also works well with Grandma’s China which will be in the adjoining master bath.

yarmouthbluehc-150

And last but not least, my son’s room is being done in this pale steel grey. He requested nothing too out there and since his furniture and flooring are dark, this will work well.

whispercsp-500

By the way, all the paint colours are from Benjamin Moore.

Picking out lighting, is one of my favourite things to do design wise, so, this was like an early Christmas gift. It’s been ten long years, since I chose what I have now and I’m so over it.  I had been drooling over all the warm metals with a touch of age, so these vintage bronze pieces were exactly what I wanted.

The top left is going in the entry (I can’t wait to see the pretty reflections this one casts), the top centre for the hallways, the middle centre in the laundry room, the bottom right, for the kitchen peninsula, the middle bottom for the kitchen table with it’s semi-flush version for the kitchen centre, and the sconces will live in the lower hallway.

houseupdates-001


 I SO CAN’T WAIT TO GET THESE ALL UP!

I’ll be sharing some progress on Instagram and FB, so follow me along for updates.

Lisa

Appliances, lighting, and faucets, oh my!

The most fun part of any reno, well to me anyways, is the finishing touches.  Early on in the renovation planning stage, I sourced and decided on the appliances, lighting fixtures, faucet and sink so that they could be ordered and already be delivered when they were needed.  I didn’t want any problems with waiting for items to be in stock or shipped.

For appliances, I had a wish list, an induction cooktop, downdraft fan, a microwave/convention oven, wall oven, a warming drawer (since we entertain a lot at the cottage and in the winter, it’s always nice to have warmed plates), a wine fridge and a new dishwasher (which quickly became a panelled dishwasher). I decided on Bosch, for everything but the wine fridge, because their appliances hit every mark and I love their sleek look.

Early on, I had seen this Brizo Artesso faucet and I had to have it.  The cool industrial yet rustic vibe was perfect for my vision of the kitchen. Brizo agreed and I’m the happy recipient of it, in a beautiful oil rubbed bronze finish.

63225LF-RB-B1.tif

For the sink, I was very torn between a large single, double or a sink and a half. I went back and forth relentlessly.  A large single sink is great, lots of room to do those large pans and soak just about anything, but I really wanted a place to stash my dirty or drying dishes (I hate on-counter drying racks, which I’ve  had and continue to have, and I resent it a little every day).  A double sink would give me that extra space to hide dishes but each sink was a little on the small size, given that I had to stay within a 31″ total width, so I compromised with a sink and a half.  I settled on a Franke sink as it gave me the contemporary edge that I wanted, had the size I needed and had slightly rounded corners to make clean up a breeze.

PP001_122.0295.896

Onto my lighting choices – I’ve had a hate on for the existing white track lighting, as there is typically only one or two of the lights working at any one time and let’s face it they are just fugly.  We added the Pottery Barn pendants when we first bought the cottage and they have certainly helped but I desperately need more light than they can give. (see before pics here).

An open rectangular lantern fixture with plenty of lights would be the perfect fit for the long island. I also wanted one without glass, to keep glass cleaning down. The Hinkley Fulton open lantern is perfect with it’s black iron exterior frame and it’s soft bronze interior finish which ties in with the oil rubbed bronze faucet.  To mount this, we will have to have the electrical boxes (where the track lights are now) capped and then somehow hidden (I’ve given this job to our fabulous carpenter and electrician).

3338BZ

To coordinate with it, Restoration Hardware’s  20th Century Library sconces with their iron finish and touch of brass (to pick up on the warm bronze tones) were an easy choice.  Three of them will line up on the far wall between the windows to light the counters and open shelves there.

prod2460589_av1I also had my heart set on a pendant light over the sink and wanted something that was light and bright but with some dark metal.  Hinkley hit it again with this Clancy fixture, in a warm bronze finish.  Again, some creative carpentry will have to be done to hide the wiring…oh the joys of a log home.

3031KZ

**Disclaimer, Brizo provided me with the faucet of my choice, in exchange for my honest opinion of it, here on my blog.

Lisa

Industrial farmhouse kitchen reno update

So, I finally have some time to get you guys updated on the cottage kitchen renovation.  Hubby and I went away for a couple of weeks to Barcelona, Spain for our 30th anniversary, so I did have a good excuse.  It was FABULOUS, by the way….what a great city!  But more on that, in another post.

Back to the kitchen reno. When last I left you guys, I had shown you a mood board showing some items that would give you the feel of the kitchen I was going for.  And here it is again.  (If you want to see the before pictures take a look here.)

WHKitchen-001

So here’s my design plans for the space.

WHkitchenentrance

We wanted to largely keep the footprint intact, with some minor changes here and there. Mostly because logs homes, don’t make it easy to move walls, electrical or even plumbing, but also because we have a fairly strict budget.  And with the island being part rock, well, that wasn’t getting moved either.  But, as per usual, things change when you are renovating and this space has been no exception, more on that later.

Let’s talk islands first:

WHkitchen2

The island will have be one flat surface counter as opposed to the lower edge that it has now. That way we can actually use it for stool seating. As it is now, it’s far too low for anyone to sit there.

All the perimeter cabinets will be painted Benjamin Moore’s New Hope Grey.  A beautiful blue/gray that I’m so excited to use.

0437e2db4d77b0eeed98ea9da96ac07c

Benjamin Moore’s New Hope Gray 2130-50

Hubby requested that the island be a contrasting colour and black, was the no-brainer choice. It will coordinate nicely with the black chalkboard wall, the existing knobs & cup handles (which I’m hoping to reuse) and the new light fixtures and faucet which are also in dark finishes.

ff1e002361bdc81a3912e734d539938d

Benjamin Moore’s Almost Black 2130-30

I will be reconfiguring some of the island cabinetry. Two wine racks will be moved from the left side of the island end to live beside the two on the right side of the island.  They should fit nicely side by side and that way I can square off the island, as I’m really not keen on the angled island ends.  A wine fridge is also being added to the island so the cabinetry will have to be adjusted for that as well.

WHkitchensink

The upper cabinets have all been removed and will be replaced with two live edge wood shelves.  That was a hard sell with hubby, but I persisted and I’m thrilled with how open the kitchen already looks without any upper cabinets.

I decided on a matte white, large scale subway tile with a handmade feel to it.  It is shown below, except the ones I’m using are actually a little wider, but the same length.  I’ve chosen a soft grey grout as well, since I don’t want to deal with having to clean white grout…phbttt….

e79b2461d37db5739b21e5a73bf9789e

There is a lower part of the counter (due to two lower windows) at the end of the cabinet run. It turned the corner and ended with a never used desk. I have to admit it had me stumped for a long time, I originally wanted to do a window seat with storage but after going back and forth with designs, I just couldn’t commit.  Hubby wasn’t thrilled with this idea, as he felt that since we were having stools at the counter, we didn’t need a second seating area in the kitchen, especially because right outside the kitchen is a large window seat and a huge dining table with 12 chairs.  I agreed that it was probably seating overkill, so I ditched that idea and decided on making the area feel a bit more like a free standing buffet.  This way I would still have lots of storage and I could get rid of the useless desk at the end of the run and also have a nice little open area to feed the cats.  I’m going with open shelves between two closed cupboards so I have a little display area that will feel a little different than the run of drawers right beside it.

WHKitchenend

The upper microwave cabinet with be replaced with one that is shallower and slightly wider.  I am still going back and forth as to whether I want it to be an appliance garage but I will hold out judgement on that, until I talk it out with my carpenter.

So there you have it, the kitchen plans and I’ll update you next week, on how they have changed.  Stay tuned as I’ll be posting in the next few weeks, about the lighting (one of my favourite parts of any reno), the appliances and the fixtures.

Lisa


A motion sensing dream via Adorne Sensaswitch

I have been meaning to post about one of the Adorne SensaSwitch that I had installed in the winter at my cottage, for so, so, so, long now, as it is SUCH a pleasure to have it.  But life just got in the way, but finally I’ve gotten around to it.

Just take a peek at this little marvel at the end of a long, with very minimal natural light hallway.  It’s the perfect switch for this spot! And it looks beautiful, to boot!

Adorne-001

Here’s a look at the before, below.

Adorne-002

Here’s how it’s described on Adorne’s website:

“The Auto-ON/Auto-OFF SensaSwitch includes motion-sensing technology, automatically turning lights on when you enter a room and off when you leave. Perfect for garages and pantries.”

It may not seem like a big thing, but let me tell you, when your “very well used cottage”, has a main floor powder room that is located around the corner, down a dark corridor, having a motion operated light switch is a God send.  No more, having to accompany guests to show them where the powder room is or where the light switches are for the hall.

Just like a little mini miracle, every time, as soon as someone is near the beginning of the corridor, the light at the end of the hall switches on.  So now I just say, follow the light, the bathroom is the first door on the right.

Obviously, I choose the white switch and matched it with the Mirror white plate.  I wanted it to blend in seamlessly and just look how great it does that.

IMG_8673

IMG_8672Function and beauty! How could you go wrong?

To check out my previous update with Adorne switches, click here.

Lisa


Adorne switches that I adore

Awhile ago, Adorne by Legrand approached me to see if I would like to try some of their wall switches, plates and outlets.  I replied with a BIG YES!

If you haven’t heard of Adorne before, I would encourage you to check out their website to see all the fabulous products that they have that can totally update your old switches and outlets.  They also offer under cabinet lighting and wireless home systems to control your lighting and even your music.  I specifically loved the Dream area where you can see all the possible ways to use their products to finish off your rooms. Once you’ve finished dreaming you can move on to the Plan section and then finally to the Select sections.

There are so, so, so, so many possibilities, it really took me awhile to figure out where I wanted to bring in this design loveliness.  The cottage entry way ended up being the big winner, as obviously it is the first room people see and it had two large banks of switches that were rather ugly (as evidenced below).

DSC_0363

DSC_0364

I decided on oil rubbed bronze wall plates with the switches done in a magnesium finish. They really complement the pine logs beautifully as well as the dark accents in the cottage. The multitude of types of switches is a little overwhelming but I quickly narrowed it down to the ones that would work well for us.

After the installation, done by a licensed electrician, we now have this bank of handsome switches.

DSC_0359

A closeup.

DSC_0362

The switches in order from right to left are: Soft Tap Dimmer, Soft Tap switch and then two more Soft Tap Dimmers.  And the dimmers actually light up to indicate how low or bright they are (see the photo below).

DSC_0361

DSC_0360

Now as I said I had two banks of switches, the one above on one wall and then one by the front door (as shown in the before photos).

Here’s how that wall looks now.

DSC_0382

So much better!

DSC_0380

Again a close up. The first switch is the Wave switch, so we just wave our hands by it and it turns on and off…so fun! The other two switches are Touch switches.

We are really enjoying them and having fun turning the lights on and off.  They look and feel so streamlined and futuristic.  I would stress that you do not attempt to install yourself, as it did take our electrician awhile to figure out the installation since he was not familiar with them.

Now, Adorne was very generous to me and offered me a few more to try out.  So I selected a Sensa switch, which is basically a motion detecting switch that you can program to shut off after a pre-selected time along with a couple of other goodies.  I’ll be posting all about them very soon!

Disclaimer: Adorne supplied the switches, outlets and plates, all installation was paid for by me, and all opinions are my own.

Lisa