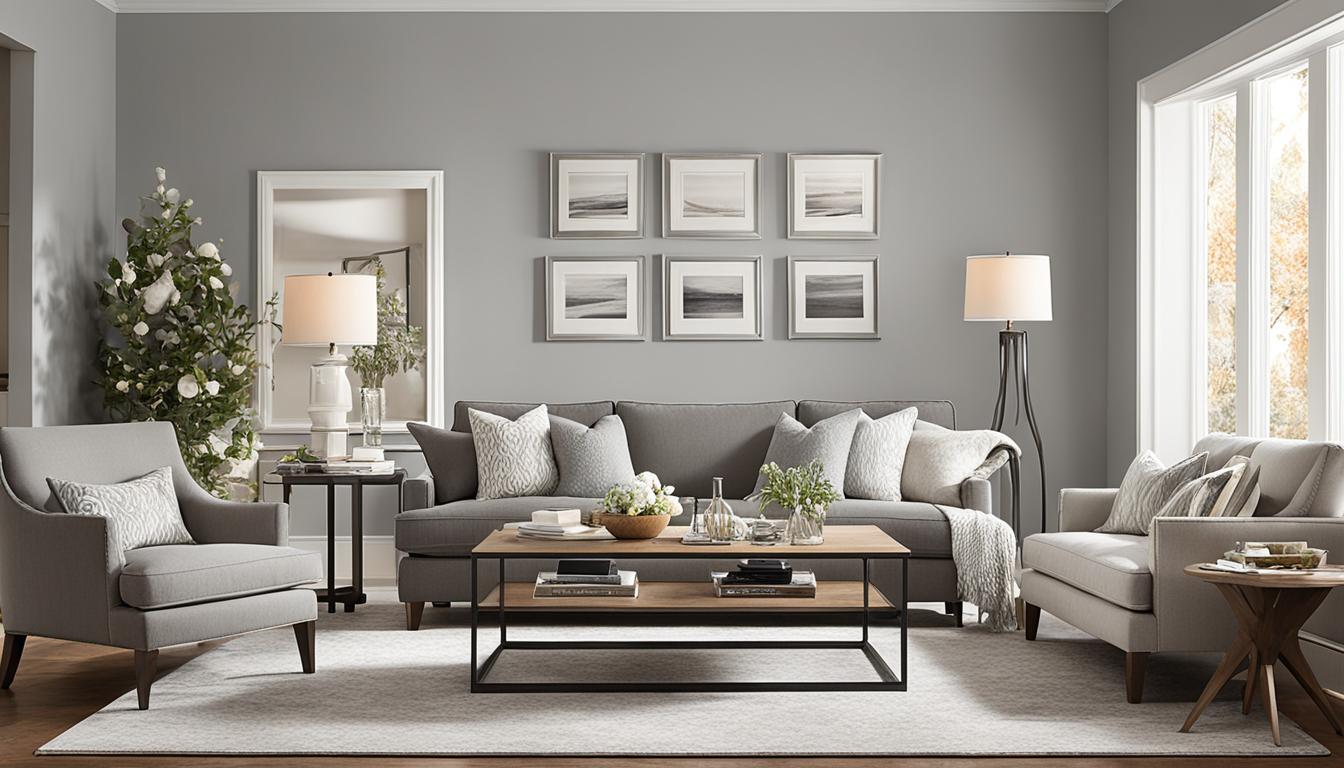
Furnish a room in 6 easy steps

Are you looking for help to furnish a room? Here’s my six steps that you can follow to furnish your perfect space. I’ll be using one of my client’s living room as an example. Click here to see the original post. 

Here’s the before so you can see where we started from.

So you can see from the before pictures that we were basically starting from scratch the only thing that we kept was the television.

FUNCTION AND FEEL

The first thing I asked this client was questions on how she wanted the room to function. This is key to having a room that works for you and your family. Form always follows function.

For this client, she wanted space for her and her son and to entertain guests. She knew she needed more storage, better lighting and comfortable seating. She also wanted to address the drapery treatment and was already planning to put in hardwood floors.

I also ask my clients how they want the room to feel. This really helps to fine tune your design choices. This client wanted fresh, beachy and bright. So take a moment to think how you want your room to function and feel.

LAYOUT

So once you have the function question answered, draw up a little sketch or use an online program of your space. I use the paid version of Room Sketcher but they do have a simplified free version available here . Better Homes and Gardens has one as well. I haven’t used it but you can click here to go to their site.

Play around and see what works. This is the key step you need to furnish your room. At this point don’t be too concerned with colours, these design plans often have limited colour choices, right now you are most concerned about what will fit.

If you are looking at your family room and you need seating for 4-6 people. Well, now you can decide whether you want a sofa that is long enough for napping, with a love seat and a chair. Or do you want two love seats and two chairs? This is where you will see what will actually fit and what won’t. Keep in mind that you need a minimum of 3-4′ of space for traffic flow areas and that coffee tables should be at least 18″ from sofa/chairs to be useful and comfortable.

FOR EXAMPLE

Here’s what the living room and adjoining dining room layout looked like for this client.

Living room and dining room layout

Living room and dining room layout

If the program has 3D rendering it will really help you visualize the space. I find it very useful to help clients visualize and for deciding on item’s heights. This is also where I focus of the shapes of items. Since most furniture is square or rectangle I try to incorporate some round, oval or irregular shapes to balance the design.

Living room 3D rendering

Living room/dining room layout 3D

A sectional worked well in this small living area and maximized the seating as well as comfort factor. A colourful occasional chair adds some pattern and can be pulled up closer to the sectional when company is over or even used at the dining table when needed.

A television console with cupboards, a large coffee table with drawers and shelves and a dining room buffet situated between the living room and dining room offers storage for both rooms. It also gives her a place to put a larger table lamp and add in a small gallery wall.

My client ended up going with a sofa with a chaise lounger at one end instead of a full sectional as she didn’t want to block too much light from the window. The key here was she knew what size of sectional/sofa would work and then she went shopping. She also decided to wait on getting an area rug and see if she really missed having one or not. Design is fluid and often Plan B or Plan C is utilized as you go along.

FURNISH

Now make a list of the pieces you will need to furnish this room. Perhaps you will be using something you already have. Just make sure that the dimensions work in your layout. Remember to measure everything so that you don’t have any unexpected surprises. It’s also very important to measure your main door frame or any stairs to ensure you can get any larger pieces of new furniture in your house or up or down the stairs!!

This is also where you want to think about window treatments. Do you need blinds and drapes, or just blinds. Is privacy or sun protection an issue? If so, you definitely want to ensure you have blinds or at least lined drapery.

Furnish a room in 6 easy steps

Also don’t forget the lighting and smaller case goods, like end tables, foot stools, night tables, etc…. This is the best place to play with placement and see if you can fit in a floor lamp or perhaps even a large house plant in that corner.

Here is the mood board for this project. This was done up together with a list of items to be ordered/purchased and their costs.

Mood board living room and dining room

BUDGET

We can’t forget the budget. It really does make some decisions for you. I am a splurge and save kind of gal, as I love a few luxury pieces but then my practical side comes in. I LOVE to find a bargain or perhaps repurpose or reuse an item.

Make up a spreadsheet with the list of the items you need to purchase/find on the left and then start sourcing with your budget in mind. As you go along you will have to decide where to splurge and where to save or perhaps plan for a larger purchase over time.

Furnish a room in 6 easy steps

COLOUR SCHEME

Now this is where the colour scheme comes in. Are you using some existing pieces? Use them as your guide. An area rug, art piece or even the fabric on a throw cushion can be your jumping off point for the colour scheme. Keep in mind the colours in the rest of your home and how much light this room gets. If this is a main room, you want to ensure that it won’t clash with the hallway or other rooms adjacent to it.

If you need further inspiration or are starting from scratch, look around your home, what is your favourite room? What colours are in there? Or do a Pinterest search and just start pinning rooms that you love. A common colour thread will emerge quickly.

Once you have decided on the colours of all the major pieces you can now choose a paint colour. Paint colours should always come last. As it is much easier to choose a paint colour to go with your sofa fabric than the other way around.

Furnish a room in 6 easy steps

ACCESSORIES

Once you have made all these decisions and ordered your furniture you can start the fun part. Accessory shopping! You can either shop your home or hit the stores for the finishing touches. I like to keep at least 10% of the budget for accessories. Don’t skip this step, it gives your room it’s personality. Buy more accessories than you think you’ll need so that you can try them out in your space. Just make sure that there is a good store exchange policy so that you can return the items that are not needed.

Furnish a room in 6 easy steps

That’s it you are done!

Now sit back and enjoy your perfect space.

And if all of this seems way too complicated or time consuming for you, just contact me.

I’d be happy to help design your perfect room.

Whether from start to finish or by just giving you the design plans to do it yourself. It’s entirely up to you.

Classic, warm, beachy home

Classic, warm and beachy, these were the adjectives my client used when describing to me how she wanted her home’s living room/dining room and kitchen to feel. She also wanted to have lots of storage in all three rooms. And we achieved just that. I visited her last week and took some photos to show just how great the transformation turned out.

This is the view from the entry now.

After – beachy living and dining room

The befores:

before living room before living room

I did up a couple of mood boards and sourced products for her so that she could follow the plan along at her own pace as her time and budget allowed. She also has an extremely handy father who did alot of the hands on work. Trades people were hired for the jobs that were not DIY and I think this makeover shows just how much you can do on a fairly strict budget.

So obviously this was a fairly extensive makeover, new hardwood floors were installed in a medium tone brown to keep the look classic and timeless. The dining table was an existing one that her father had made so it was incorporated into the space.  The sofa was custom made and the case goods were picked up from big box stores.

I suggested that she use some of her own family pictures in the 4 large frames and they have turned out perfectly. She already has plans to rotate in some newer pictures. The drapery was ready made and adds some graphic pattern to the palette.

fullsizerender-43

The bird and octopus artwork was purchased by my client on her yearly trips to Prince Edward County and they are the perfect compliment to the space.

after - beachy living room

after - living room

fullsizerender-49

fullsizerender-46

Now onto the kitchen. Here’s what it looks like now.

After - warm beachy kitchen

And here’s the befores:

Before - kitchen before - kitchen Before - kitchen

We continued with the same drapery as the living room and dining room as the windows are literally right beside each other. The hardwood floor was continued throughout the kitchen as well to keep the flow from room to room. The existing dark wood cabinetry was painted out to match the new pantry and open shelving.

An antique feeling dark wood table was added to tie in with the dark wood floors and the chairs were my client’s grandmothers, which serendipiously match the table perfectly.  I selected a clear glass pendant to keep the sight lines open to the new backyard deck, as well as a glass and gold flush mount fixture (not shown) for the working area of the kitchen. Under cabinet lighting was also added during the renovation.

The bronze/gold Brizo Talo faucet sparkles like a piece of jewelry on the Caesarstone Quartz white counter and the backsplash is actually tile that looks so much like barn wood, you have to touch it to believe it.

After - warm and beachy kitchen

After - kitchen pantry and open shelving area

These extra cabinets added much needed storage to the space challenged kitchen and a little touch of display area, which can be changed out to a bar or appetizer area when guests are expected.

After - kitchen wallpaper and mirrors

This long, long wall opposite the stove, was treated to some softly textured wallpaper that is wipeable and adds a little extra pattern to the kitchen. My client found these adorable mirror spheres that hide the unused and unsightly phone outlet.

Kitchen faucet - Brizo Talo

The Brizo Talo faucet.

After - kitchen open shelving

Some added display area that also showcases the backsplash.

fullsizerender-58

My client is thrilled with her home and it’s new look. She says when she gets home she breathes a happy sigh and settles in for some R & R. Which just makes me smile!

Lisa


Rustic and soft beachy bedroom

Today’s post is how to get a rustic yet soft beachy bedroom.  But first, I must apologize for that large blogging break! I was away in sunny California – San Francisco and Yosemite to be exact. What a beautiful place California is and we enjoyed it so much.

And now I’m back and a little swamped with all the spring fever that is going around over here.  I’m knee deep in lots of designs and plans.  And I had just enough time to do up a post for Wicker Emporium a few weeks ago (when the weather was still cool and pretty miserable here).  So if you are itching to freshen up your bedroom decor for summer, look no further.

soft rustic beach bedroom-001 And if you are looking for the links to the items above, they are below.

From top left:
Metal sand dollars; pillows;  New Haven Queen bed; artwork; glass lamp; drapery; dresser; area rug; cabinet

Have a great sunny week!

Lisa


Budget friendly, feminine and beachy guest room

This basement guest room was badly in need of some TLC.  My client called me in, when she became stuck, after she had painted and bought some linens. I did up a mood board and did some sourcing and here’s how it turned out!

DSC_0385

It had the typical very small window at the top of the wall and very limited light sources.  The flooring was already installed, a great wood look laminate and that together with the blue/grays of the linens inspired the beachy and feminine feel we went with.

Here’s some before pictures:

photo 4 photo 3

The criteria was:

1. Small budget, as it was a guest room and my clients’  had just completed a major renovation.

2. Use the existing wall colour and bedding. this was not hard since both were great!

3. Easy for my client to finish off on her own, since I would just be providing the inspiration and sourcing of items.

4. There could be some DIYs as she was willing to roll up her sleeves.

So with these items established, off I went to come up with a design plan.

The mood board: (I originally posted about this mood board here).

Laidlaw Guest Room-001

I used the existing paint colour as the background of the mood board and suggested that my client, paint out the two wood and black end tables in a beachy blue as shown.  The two tables were the same height and I like using mismatched end tables, as long as they have some cohesiveness, and painting them the same colour would do just that.  And it was certainly budget friendly, as she was more than willing to paint them herself.

Here they are before:

photo 1 copy photo 2 copy

And after:

DSC_0372 DSC_0374

I selected a reasonably priced sand coloured linen upholstered headboard (Bouclair ), which was perfect for the small room, as it didn’t take up much space (no footboard), added some great texture and it would be comfortable for guests to read in bed.  A simple white dresser (Ikea, the knobs will likely be changed to crystal ones shortly) and an interesting white mirror were practical and pretty choices for the room.  A small striped area rug brings a little more beach feel into the room as does the pretty little shell artwork.

DSC_0365

DSC_0379

My client found the perfect damask tone on tone simple roller shade at Ikea for the amazing price of $19, cut to size it’s the perfect compliment with the damask bedding.

DSC_0364

This entire room was completed under $1000 and has been a huge hit with the female exchange student who was the lucky first occupant, she even emailed photos back to her Mom in Germany as she found it so pretty.

DSC_0367


Lisa

Beachy caribbean blue china cabinet makeover

Hope you had a great Canada Day my fellow Canadians and, to my American readers, hope your Independence Day is fabulous!

We had such great hot weather here that it was hard to get all the jobs done but I did get this accomplished.   I’m thrilled with the little brightness it adds to this dark corner.

DSC_0108

If you don’t remember this is how it looked before the mini makeover.

photo 209

Such a cute little cabinet but it needed a happy colour!  P.S. Sorry for the all the reflections, it’s really hard to take a picture of a glass cabinet with three windows reflecting all around it.  You can even see my purple floral sundress that I was wearing when I took the photos 🙂

DSC_0112

And it brightens up this corner perfectly.  And if you were really paying attention, you’ll notice that I also changed out the hardware.  I had a cute crystal knob on hand that I used on the top door. But for the bottom I decided on a tiny brass knob instead of the larger crystal one, it just seemed a tad too big on the bottom door).  I also had great fun styling it.

DSC_0101

Some faux coral, a pretty glass aqua starfish, a little white canister from Indigo to add some texture and a trio of small blue bottles I picked up in California last year.  I may add some blooms to them as well.

DSC_0124

And last but not least a glass dome with some green moss and a few seashells to add to the beachy theme.

DSC_0123

DSC_0098

P.S. Since a lot of people asked, I thought I would include the recipe for homemade chalk paint that I used for this piece and in these furniture makeovers as well – China Hutch and Buffet (click on the name to read those posts).

Here’s the recipe (which I found online here).

Homemade Chalk Paint

2 cups of latex paint (I used eggshell) in the colour of your choice
5 tbsp plaster of paris
1 1/2 tbsp cool water (the original recipe calls for 3 tbsp, I like the thicker version of the paint)
Mix the plaster of paris with the water, stir thoroughly till there are no lumps.  Then add latex paint and mix completely. It should be just as smooth as the plain paint when you started.
 

The beauty of chalk paint is that very little prep is needed.  I very lightly sanded the piece because it was so dark and then I used a small foam roller to apply two coats of the chalk paint.  For the tight areas I used a tiny foam brush, letting the first coat dry for about an hour.  I then let it dry completely for a few days, before I applied  The Fat Paint Company Wax in antique.  I spread a very light coat  over the entire surfaces, buffing it to a shine, after waiting 10 minutes.  After a half an hour,  I used The Fat Paint Company Wax in natural,  to cover the entire piece and buff it to a shine, once dry.  If more shine is desired, another coat of wax can be used.  It goes on so nice and easy with a clean dry cloth.

If you have any other questions, I’d be happy to answer them to the best of my amateur painter ability 🙂

Lisa